Laminate is one of the easier floors to install yourself. It uses a click-lock system, so you don’t need glue or nails. Still, the result depends on preparation and patience.
This guide covers the tools, subfloor preparation, underlayment, layout, cutting, and finishing. It also explains when hiring a professional makes more sense.
What You Need Before Installing Laminate Flooring
Start by reading the manufacturer’s installation instructions. Each product has its own rules for acclimation, underlayment, expansion gaps, and wet areas. Those instructions always override general advice.
Next, measure the room length and width and multiply them to get the area. Add extra planks for cuts and waste. Many installers add around 5–10%, but complex layouts may need more. Check your product’s guidance.
If you are still choosing a floor, look at Laminate Flooring Dubai options and compare finishes, wear ratings, and water-resistance details before you buy. Think about the room, the foot traffic, and how easy the floor is to clean.
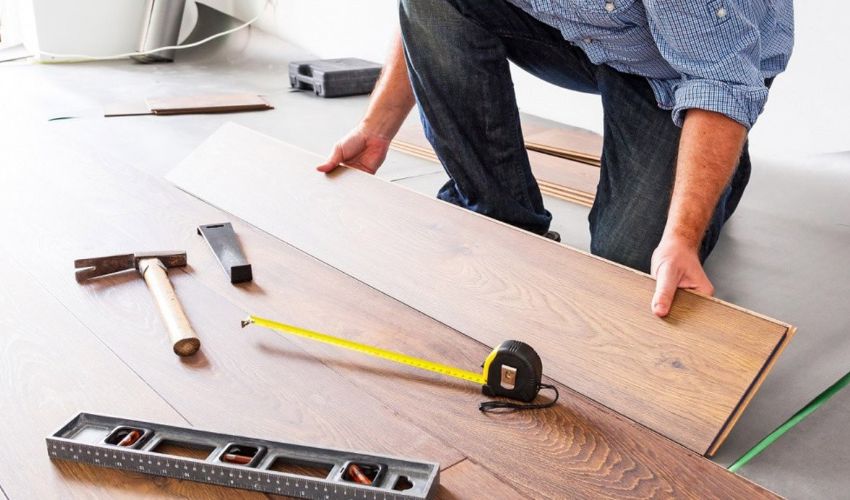
Tools and Materials Required
- Laminate flooring planks
- Underlayment (unless attached to the planks)
- Vapour barrier, if your subfloor needs one
- Flooring spacers
- Tapping block and pull bar
- Tape measure, pencil, and straight edge
- Jigsaw or laminate cutter, plus a fine-tooth hand saw
- Safety glasses, dust mask, and gloves
- Skirting boards or trim, and transition strips
Step 1: Prepare the Room and Subfloor
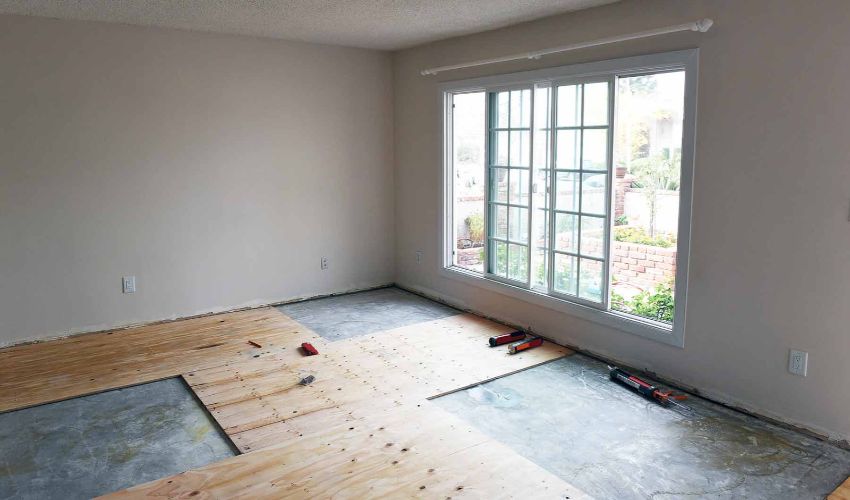
A good floor starts with a good subfloor. Remove furniture and any old flooring that is not suitable to install over. Then take off the skirting boards if you plan to refit them.
Clean the surface fully. Dust, grit, and debris can make planks click badly or sound hollow underfoot.
Check the floor for flatness. Lay a long straight edge across it and look for dips or high spots. Grind down raised areas and fill low spots with a suitable levelling compound. Most manufacturers state a maximum tolerance, so check yours.
Moisture matters too, especially in ground-floor apartments, villas, and rooms with a concrete base. Do a moisture test before you start, and follow the flooring maker’s limits. If the reading is too high, fix the cause first.
Step 2: Let the Flooring Acclimate
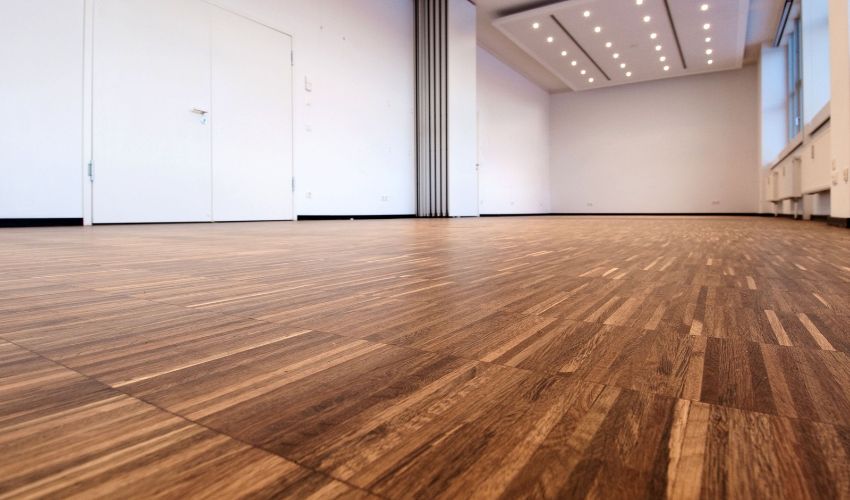
Acclimation means letting the planks adjust to the room before installation. Wood-based boards can expand or shrink slightly with changes in temperature and humidity.
Keep the boxes in the room where they will be installed. Store them flat and follow the manufacturer’s rules on time, temperature, and humidity.
In Dubai, many homes run air conditioning most of the year. Install the floor in the same conditions it will live in. Do not store boxes in a hot garage, a damp area, or a space with no climate control.
Step 3: Install the Underlayment
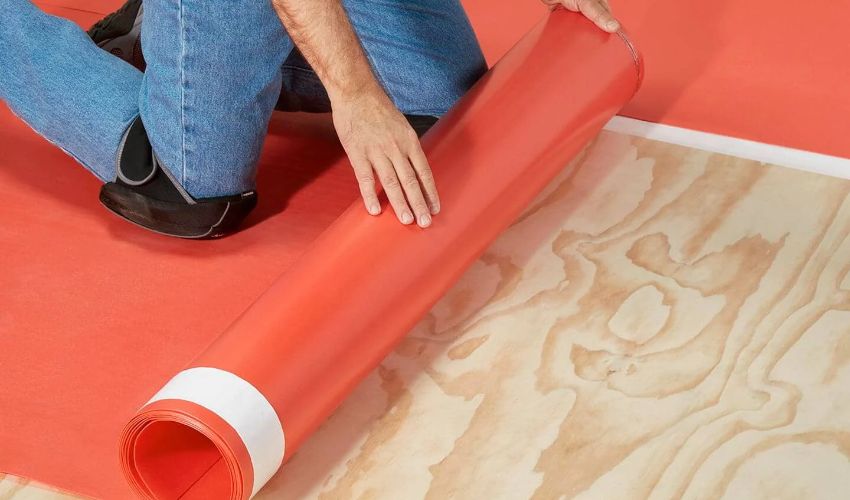
Underlayment sits between the subfloor and the planks. It can add cushioning, reduce noise, and help with minor surface imperfections. Some products also include moisture protection.
Check whether your planks already have underlayment attached. If they do, adding another layer may not be allowed.
Roll it out in the same direction you plan to lay the planks. Butt the edges together without overlapping, unless the product says otherwise. Seal seams with tape if required.
The right moisture barrier depends on your subfloor and the manufacturer’s specifications. A concrete subfloor often needs a vapour barrier. Do not assume one product suits every situation.
Step 4: Plan the Plank Layout

Good planning prevents awkward results. Measure the room width and work out how the last row will look.
If the final row would be a very thin strip, trim the first row to balance the layout. A last row of at least a few centimetres is easier to fit and looks better.
Consider the flooring direction. Planks often run parallel to the main light source, such as a window, or along the longest wall. This can make the room feel longer and hides joints.
Plan staggered plank joints too. End joints in neighbouring rows should be offset by a safe distance, as stated in the instructions. Mix full planks and offcuts so the pattern looks natural.
Step 5: Lay the First Row
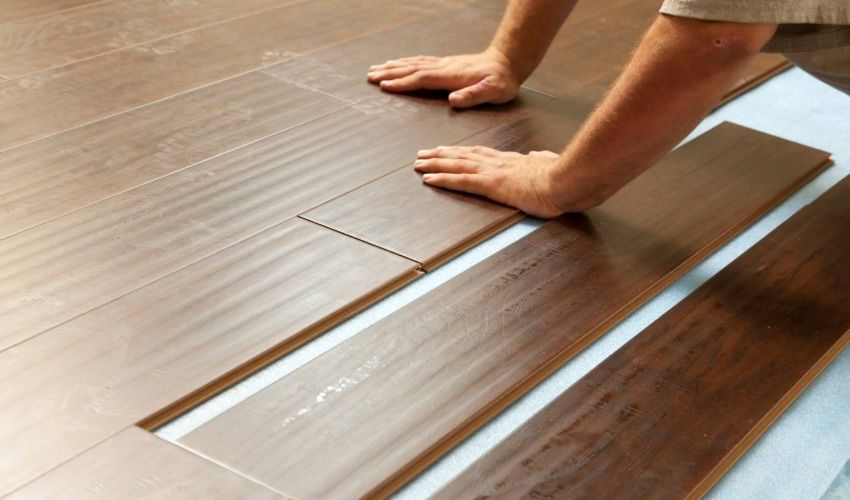
Start in a corner, usually along the longest straight wall. Place the first plank with the tongue side facing the wall, unless your instructions say otherwise.
Put spacers between the planks and the wall. This creates the expansion gap, which lets the floor move slightly as conditions change. The required gap varies by product, so follow the manufacturer’s number rather than guessing. Many gaps are around 8–10 mm, but confirm for your floor.
Click the short ends together to form the row. Check that it is straight with a string line or straight edge. A crooked first row creates problems in every row after it.
Take your time here. Small errors grow quickly.
Step 6: Install the Remaining Rows
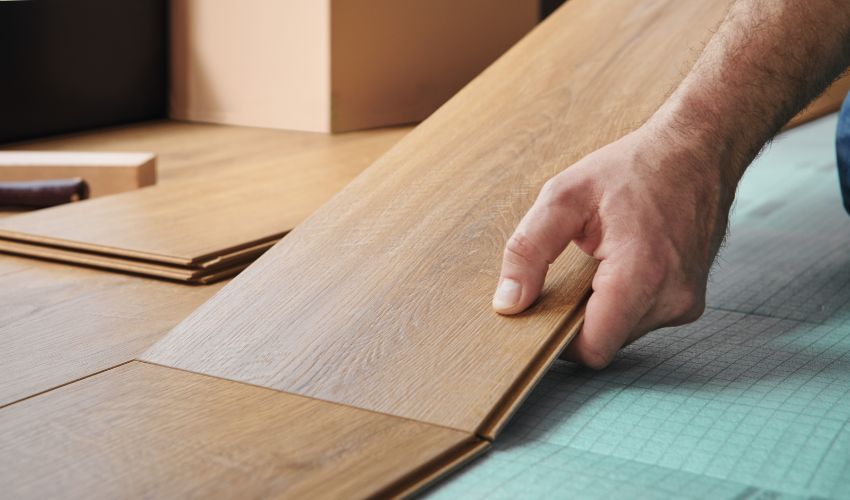
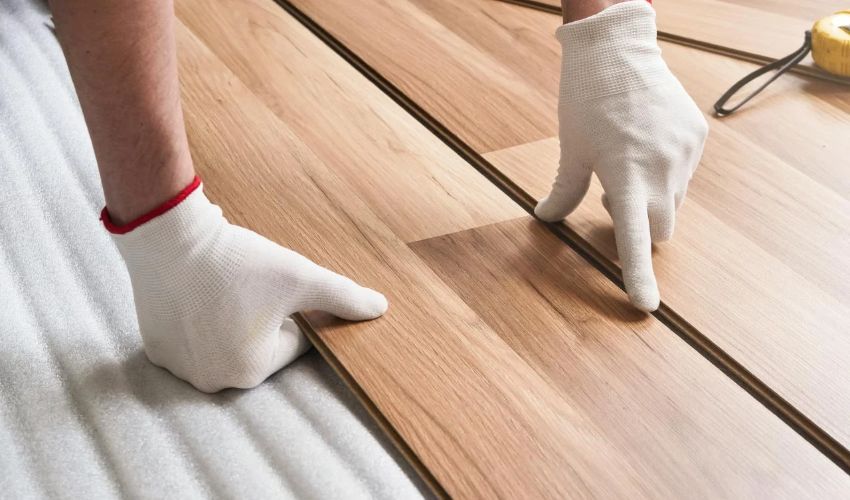
Cut the first plank of the second row so its end joint is offset from the first row. Then angle the long edge into the previous row and lower it until it locks.
Use the tapping block gently along the edges to close small gaps. Use the pull bar for the last plank in a row, where there is little room to swing a tool.
Plank quality affects how well this step goes. When you look for the Best Laminate Flooring in Dubai, check the locking profile, core density, wear layer, and warranty details. A well-made click-lock edge usually fits more evenly and is easier to work with. Always judge a product on its full specification, not only its price or thickness.
Check alignment after every few rows. Make sure the joints stay tight and the rows remain straight. Avoid hitting planks hard. Too much force can damage the locking edge.
Step 7: Cut Planks Around Corners and Doorways
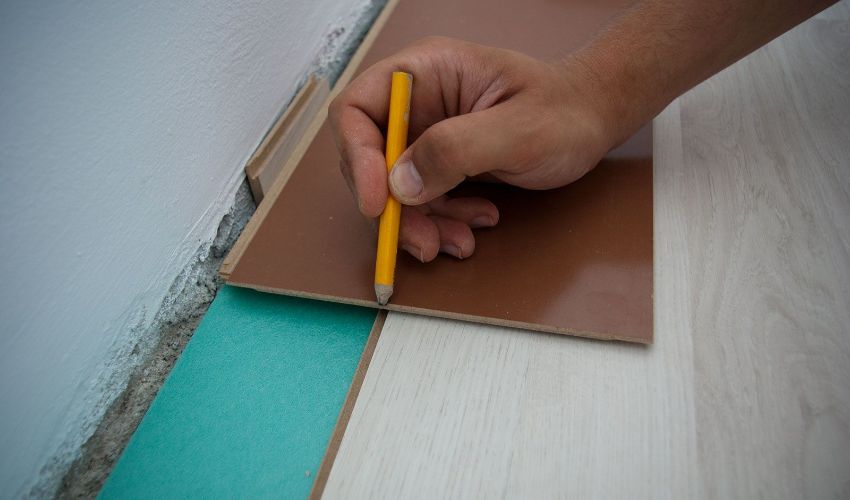
Measure twice and mark the cut clearly on the plank. Remember to include the expansion gap.
Use a jigsaw for curves and corners, and a laminate cutter or fine-tooth saw for straight cuts. Cut the decorative face in the direction recommended for your tool to reduce chipping.
For door frames, undercut the frame instead of cutting awkward notches into planks. Place a spare plank and underlayment next to the frame, then use a flush-cut saw to trim the bottom. The plank can then slide underneath for a cleaner finish.
Safety matters. Wear eye protection and a dust mask, clamp the plank securely, and keep your hands away from the blade. Cut in a ventilated area.
Step 8: Finish the Edges and Inspect the Floor
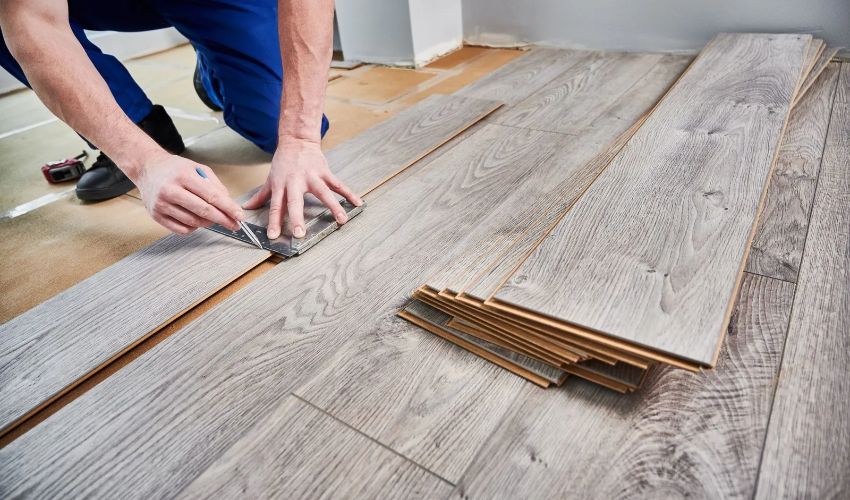
Remove all spacers once the floor is complete. Then refit skirting boards or install trim to cover the expansion gap. Do not fix the trim tightly down onto the floor, because the floor needs room to move.
Fit transition strips at doorways and where laminate meets another flooring type. These bridge height differences protect exposed edges.
Walk the floor slowly and inspect it. Look for gaps, raised edges, squeaks, or loose planks. Fix problems early, before furniture goes back in.
Common Laminate Flooring Installation Mistakes
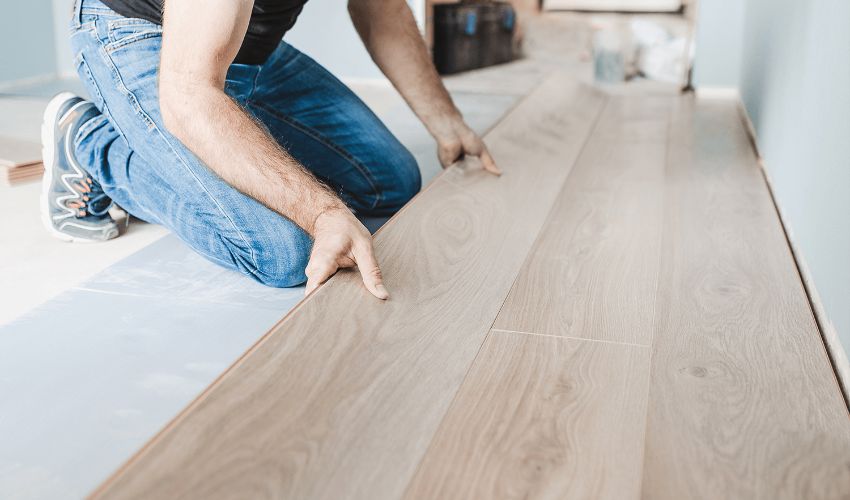
- Skipping subfloor preparation. Uneven or dirty surfaces cause gaps and noise.
- Ignoring moisture problems. Moisture can damage the planks and the locking system.
- Not leaving an expansion gap. The floor may buckle if it cannot move.
- Aligning end joints. Matching joints in neighbouring rows looks poor and can weaken the floor.
- Using too much force. Heavy hammering can damage the click-lock edges.
- Ignoring the manufacturer’s instructions. This can also affect warranty cover.
How to Choose the Right Laminate Flooring for Your Home

Start with the room. Living rooms, bedrooms, and hallways have different needs from kitchens or entrances.
Look at the wear layer and durability rating, which show how well the surface resists scratches and daily use. Thickness helps with stability and feel, but performance depends on the full specification, not thickness alone.
Check the warranty, cleaning needs, and finish. Simple laminate floor maintenance usually means sweeping or vacuuming and using a lightly damp mop. Avoid soaking the floor.
Water resistance varies. Not all laminate is suited to kitchens, bathrooms, or other wet areas. Check the product’s water-resistance rating and the manufacturer’s guidance for each room.
Should You Install Laminate Flooring Yourself or Hire a Professional?
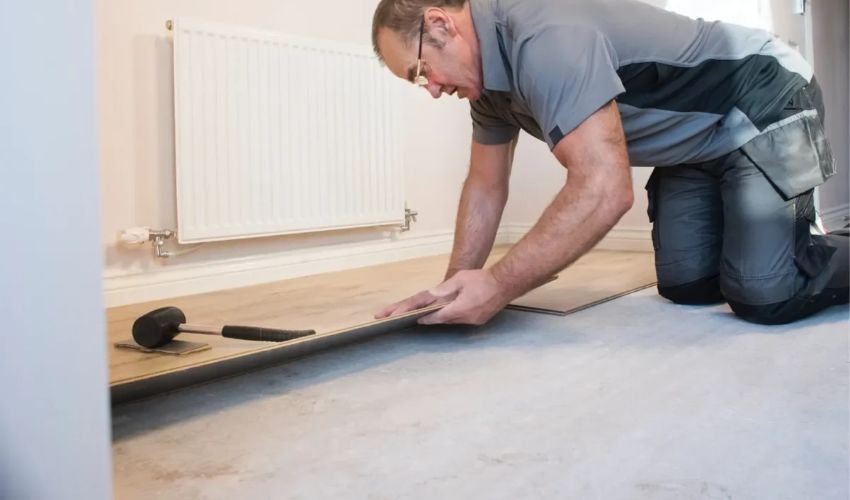
DIY laminate flooring can work well for simple rooms. If you have basic tools, a flat subfloor, and patience, you can often handle it. You also save on labour.
Professional installation is a better choice in some cases. Consider laminate flooring installers if the room has many corners, a very uneven subfloor, moisture concerns, or lots of door frames. Large apartments and villas also benefit from an experienced team, and so do rental properties with tight deadlines.
Cost is another factor. Laminate flooring cost depends on the product, the room size, subfloor work, and labour. Ask for a written quote based on a site visit, not a general guess.
Moisture is also a reason to rethink the material. If a space regularly gets wet. PVC Vinyl Flooring may be worth comparing. Many vinyl products are designed with moisture resistance in mind, though performance varies by product. Laminate often offers a realistic wood look and a firm feel, while vinyl is usually softer underfoot. Both need a suitable subfloor and the right care, so check each product’s specifications.
Final Tips for a Successful Laminate Flooring Installation
- Read the manufacturer’s instructions first.
- Test for moisture and level the subfloor.
- Let the planks acclimate in the room.
- Leave the expansion gap on every side.
- Stagger joints and keep the first row straight.
- Do not force click-lock planks together.
If you are unsure about any stage, get advice before you begin. A short consultation can save you from expensive mistakes. Whether you install it yourself or hire a team, careful preparation gives you a floor that looks good and lasts.
FAQs
- What tools do I need to install laminate flooring?
You need spacers, a tapping block, a pull bar, a tape measure, and a saw such as a jigsaw. Safety glasses and a dust mask are also important. - How do I prepare the subfloor?
Clean it, check that it is flat, fix any dips or high spots, and test for moisture. Follow the manufacturer’s tolerances. - How big should the expansion gap be?
It depends on the product, so follow the manufacturer’s instructions. Many floors use a gap of around 8–10 mm, but confirm for your planks. - How long does installation take?
It depends on room size, layout, and subfloor condition. A small, simple room may take a day, while larger or complex spaces take longer. - Should I do it myself or hire a professional?
DIY suits small, simple rooms with a good subfloor. Choose a professional for complex layouts, moisture concerns, or limited experience.