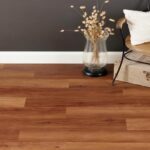
Vinyl flooring has become incredibly popular throughout time, due to its longevity, ease of upkeep, and range of shapes, and patterns. If you are thinking about updating your flooring and want to do it yourself, then this guide by PVC Vinyl Flooring will help you to install vinyl tiles like an expert.
Techniques To Install Vinyl Flooring
If you want a functional and durable floor treatment, use these do-it-yourself techniques and tactics.
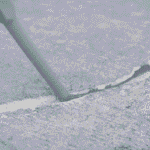
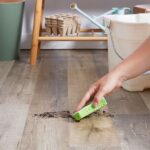
1. Pre-installation Preparations
Make sure that the subfloor is smooth, dry, and clean before beginning to install the vinyl planks/tiles. After removing the existing flooring and/or carpeting examine the area for any flaws or debris. Use a suitable filler or patching compound to fix any holes, cracks, or uneven areas on the subfloor. A leveled and smooth surface is necessary to guarantee that the vinyl sticks correctly and to prevent early deterioration.
2. Acclimate The Vinyl Floor
Variations in humidity and temperature can cause vinyl flooring to expand or contract. Acclimatize the vinyl planks or tiles in the installation area for at least 48 hours to avoid fitting problems and buckling. The flooring boxes or packages should be kept flat on the floor and unopened. This enables the material to adapt to the room’s ambient circumstances.
3. Measure And Plan

For the installation of vinyl flooring to be successful, precise measurements are necessary. Identify the space’s length and width, then multiply the needed square footage. Consider ordering 5-10% additional vinyl luxury flooring when making your purchase to cover waste, cutting errors, and future repairs. To reduce cutting during installation, plan the arrangement with doorways, cabinets, and other obstructions in mind.
4. Gather The Right Tools

Some basic tools, including a utility knife, measuring tape, chalk line, straightedge, carpenter’s square, notched trowel, roller, and safety gear like knee pads and safety goggles, are necessary for a successful vinyl flooring installation. The installation procedure will go more smoothly and effectively if you have the appropriate tools on hand.
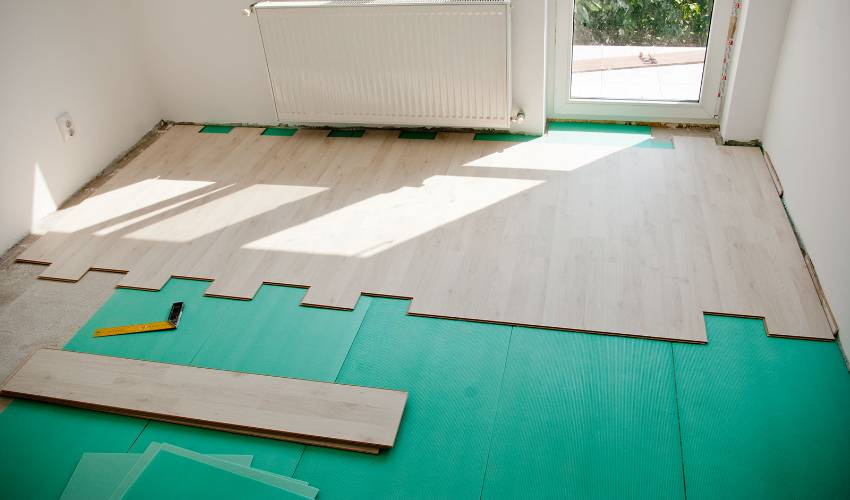
5. Install Underlayment (If Necessary)

If you feel that your subfloor needs more cushioning or a moisture barrier, you might choose to install an underlayment. Underlayment may already be included in some PVC flooring systems but for others, you may need to add a separate layer of foam or cork underlayment. Be careful to adhere to the advice provided by the manufacturer for the type of vinyl floor you are using.
Also Read: What Type Of PVC Flooring Is Best For Uneven Floors?
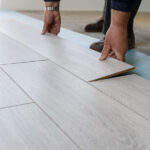
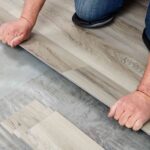
6. Start Laying The Vinyl Floor
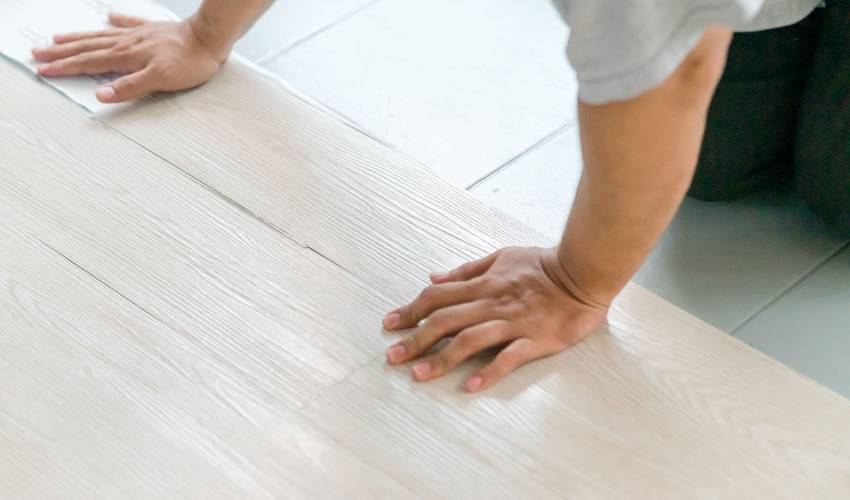
Beginning from the middle of the room, start the installation process. Draw a guiding line through the middle of the longest wall using a chalk line. In accordance with the manufacturer’s instructions, place the first row of vinyl planks or tiles along this line, making sure they are tightly butted together or have a small space between them. Work from the centerline to outwards, row by row.
7. Cutting Vinyl Planks / Tiles

It will ultimately be necessary to trim the vinyl planks or tile to fit around edges, corners, or other impediments. For accurate cuts, use a vinyl cutter or a utility knife. To ensure precise fitment and prevent waste, measure twice and cut once.
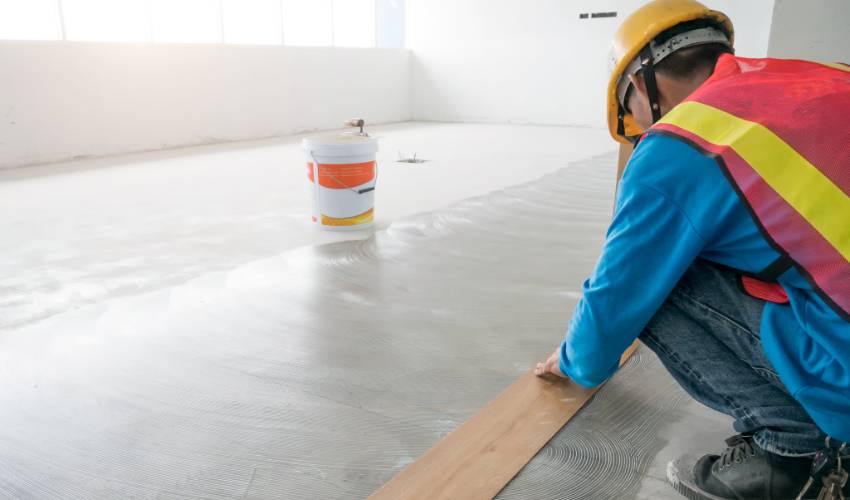
8. Adhere to Vinyl Flooring

The type of vinyl floor you are selecting will determine how to adhere to it. The backing of self-adhesive vinyl tile peels off, just press the planks or tiles onto the subfloor. For correct fitting and joining, adhere to the manufacturer’s recommendations when using loose lay or click-lock vinyl. To guarantee a solid adhesion between the vinyl and the subfloor, use a rubber mallet or roller.
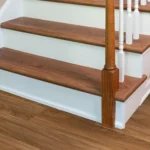
9. Deal With Doorways And Transitions

The vinyl planks or tiles must be trimmed to fit under the door casing when you get to a doorway. Make accurate cuts with a coping saw or jamb saw, allowing a tiny space for growth. To make a smooth transition between various materials, install transition strips where the vinyl meets any other surfaces.
10. Finishing Touches

Make sure there are no loose edges or gaps by looking over the whole floor surface. Reposition any raised corners or edges using a heat gun or more adhesive if necessary. Before adding the final details, make sure everything is firmly in place.
11. Install Baseboards And Quarter Round

Put up quarter-round moldings or baseboards around the room’s perimeter to hide expansion gaps and give the flooring a more finished appearance. When attaching the moldings to the walls, use finishing nails or adhesive, being careful not to impede the vinyl’s ability to expand and compress.
12. Maintain And Care For Your Vinyl Flooring

Your vinyl flooring will last longer and look better with proper care after installation. To eliminate dirt and debris, sweep or hoover frequently. For thorough cleaning, use a damp mop and some mild soap and water. Steer clear of abrasive cleaning supplies and aggressive chemicals that can harm the vinyl’s surface.
Winding Up
In the end, laying vinyl tile flooring can be a rewarding and affordable do-it-yourself project if you have the proper equipment, exercise caution when planning, and pay close attention to detail. Use these guidelines to get a polished finish that will improve the looks of your house and offer a comfortable, long-lasting interior upgrade. Enjoy your brand-new vinyl flooring and the pleasure that comes with a job well done!