Concrete floors are tough, but they can crack over time due to settling, temperature changes, or wear and tear. If you’ve noticed cracks in your concrete floor, don’t panic — repairing them is easier than you might think. Whether it’s in your garage, shed, or living room, fixing these cracks early can prevent bigger issues like water damage or structural problems.
Here’s how you can repair those cracks yourself in just a few simple steps!
What You’ll Need:
-
Concrete cleaner or degreaser
-
Pressure washer (or broom and hose)
-
Chisel and hammer
-
Concrete patching compound or floor leveller
-
Putty knife or trowel
-
Caulk or concrete filler (for smaller cracks)
-
Paintbrush or roller (optional for sealant)
-
Gloves, safety glasses, and dust mask (for protection)
Step 1: Assess the Crack
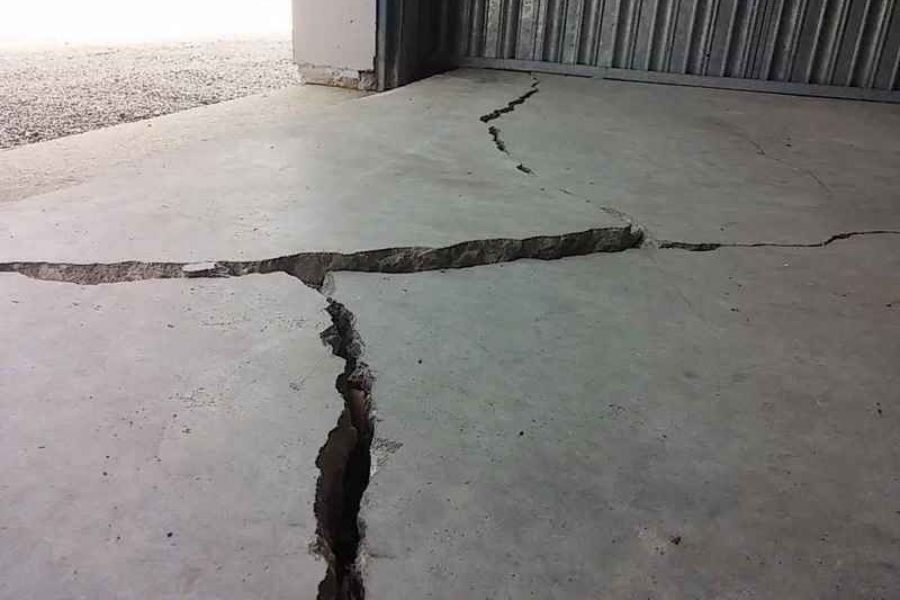
Before you start fixing the crack, it’s important to determine its size and depth. Hairline cracks are usually cosmetic and not a cause for concern, while widening cracks or cracks that show signs of shifting can indicate bigger issues, like settling or moisture problems.
-
Small cracks (less than 1/4 inch) can be filled with concrete caulk or a ready-made filler.
-
Larger cracks (1/4 inch or more) may require patching compound or resurfacing.
Step 2: Clean the Area
Concrete surfaces need to be clean for the repair material to bond properly. Start by sweeping up any dirt, dust, or debris from the crack. If the crack is large or filled with debris, you may want to use a pressure washer to clean the area thoroughly. Be sure to let the surface dry completely before moving to the next step.
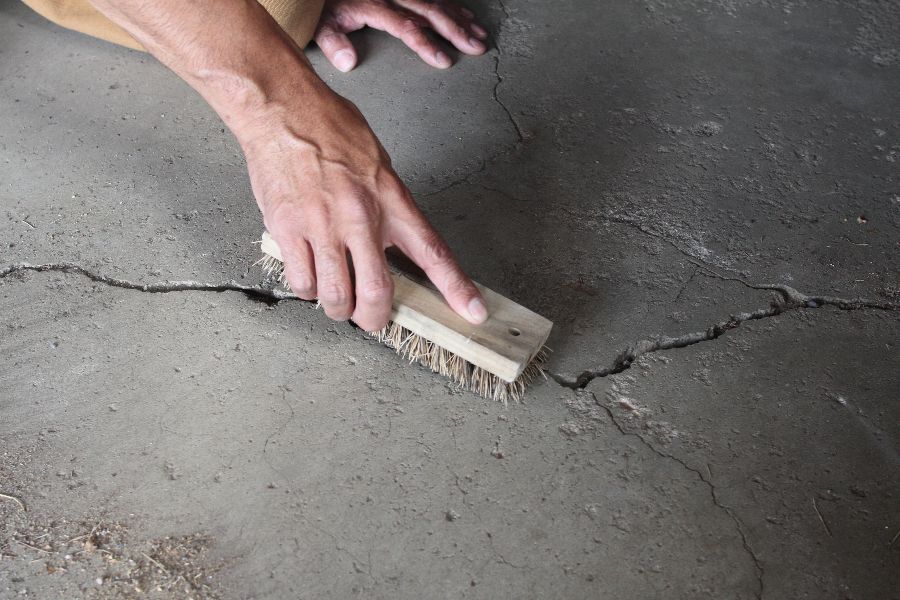
Step 3: Prepare the Crack
For effective repairs, the crack must be prepped properly:
-
For small cracks: You can skip chiseling, but use a wire brush to clean the inside of the crack to remove any loose debris.
-
For larger cracks: Use a hammer and chisel to widen the base of the crack and make an inverted “V” shape. This helps the filler material stay in place and bond better.
If the crack is deep, insert a backer rod (a foam rod) into the crack to fill up the void. This will reduce the amount of filler you need and make the repair more stable.
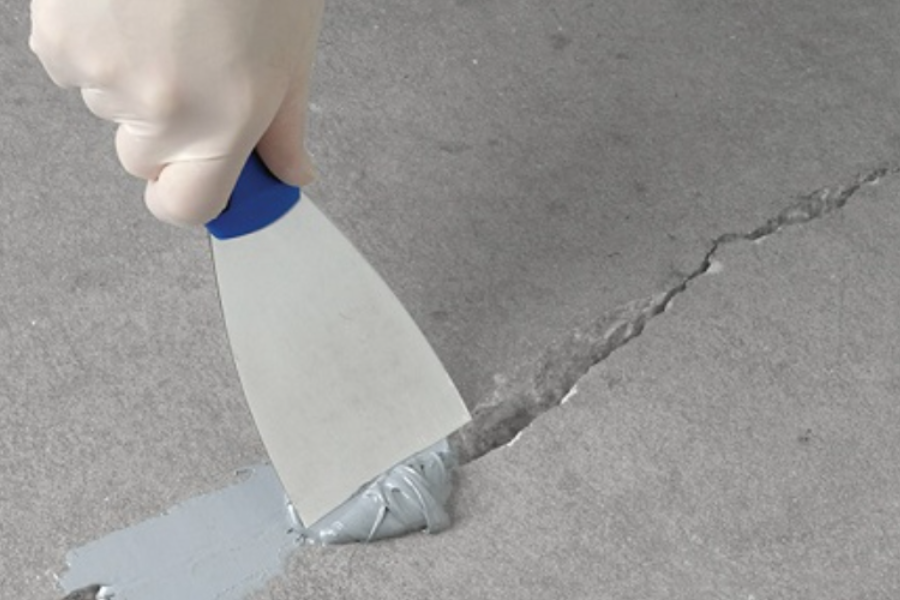
Step 4: Apply the Repair Material
Now, it’s time to fill the crack!
-
For small cracks: Use concrete caulk or a pre-mixed concrete filler. Apply it with a caulk gun or squeeze directly into the crack. Smooth it out with a putty knife or your finger for a clean finish.
-
For larger cracks: Mix a concrete patching compound (or floor leveller) according to the instructions on the bag. Use a trowel to press the compound deeply into the crack, ensuring it fills the entire space. Smooth it over the surface to level it with the surrounding floor.
For a smoother finish, use a floor leveller for a more even surface. If the cracks are near a seam or joint, be sure to seal those areas with an appropriate joint filler to prevent future cracking.
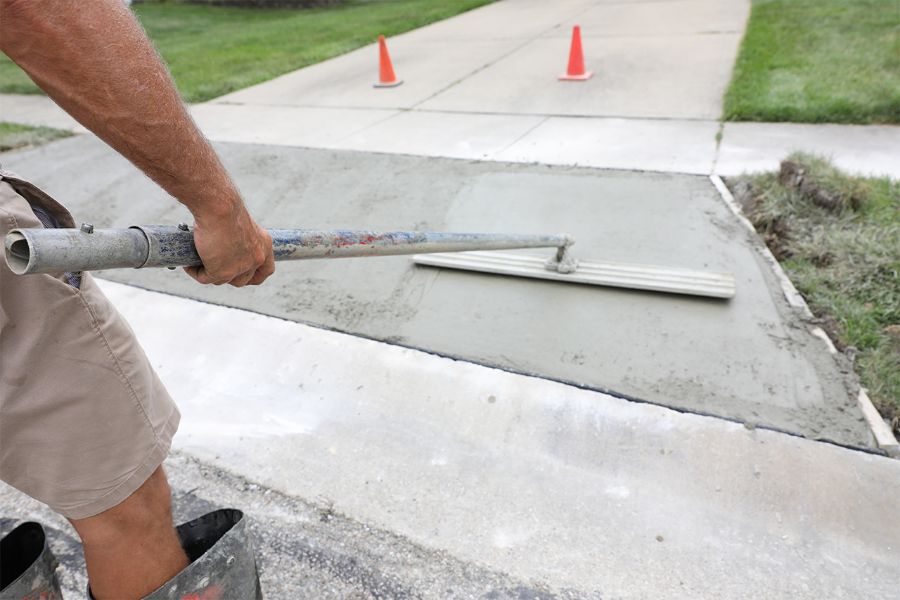
Step 5: Smooth and Level the Surface

Once the crack is filled, smooth the repair compound using a trowel or putty knife. Be sure the patched area is level with the surrounding floor. If you’re repairing a larger surface, a floor leveller will make this step much easier.
If you’re working with a bigger surface or resurfacing the entire floor, you can use a self-leveling compound to get a uniform finish across the entire floor. Just be sure to follow the manufacturer’s instructions carefully to ensure even coverage.
Step 6: Let It Cure
Patience is key! Concrete takes time to set. Depending on the product you’re using, let the filler or patch compound cure for at least 24 to 48 hours before walking or driving on the repaired area. During the curing process, avoid any heavy activity to allow the repair to harden properly.
Step 7: Seal the Floor (Optional)
For added protection, you might want to seal the concrete floor once the repair is complete. Concrete sealers help protect the surface from moisture and wear, which can prevent future cracks from forming.
Apply a concrete sealer with a paintbrush or roller. This will not only protect your repair but also make your floor look cleaner and more polished.
Bonus Tips for Preventing Future Cracks:
-
Address drainage issues around your concrete surface. Ensure that water drains away from the concrete to prevent moisture from causing cracks.
-
Use expansion joints when installing concrete to allow the surface to expand and contract with temperature changes without cracking.
-
Reseal your concrete every few years to protect the surface and prevent moisture infiltration.
-
Control weeds and grass that might push against or into the cracks, causing them to widen.
Conclusion:
Fixing cracks in your concrete floor doesn’t have to be a stressful task. With a little time, the right materials, and some DIY effort, you can restore your concrete surface to its former strength and prevent further damage. Whether you’re filling small cracks or resurfacing an entire area, following these simple steps will ensure your concrete floor stays in great shape for years to come.